
A small change to an everyday workshop accessory became a useful CAD and 3D printing project. Pumpkin, our cat, kept reaching into the printing-waste bin and taking filament strings to chew on. We wanted a removable lid that would cover the opening while keeping the bin easy to use and empty.
The bin was an existing online design. Our contribution was the custom lid: using the original geometry as a reference, modeling the new part in FreeCAD, preparing it in Bambu Studio, and refining the fit through printed tests. The early lid did not fit correctly; clearance and corner adjustments led to the properly fitting result shown at the end of the project.
Pumpkin supplied the design brief
The first photo catches the reason for the project in action. The bin sits beneath the printer workbench, where it is convenient for collecting scraps, but its open top was also within Pumpkin's reach. Rather than replacing a bin that already suited the workspace, we set out to add a cover to it.
The goal was practical: cover the opening with a lid that could be lifted off when scraps needed to go in or the bin needed emptying.
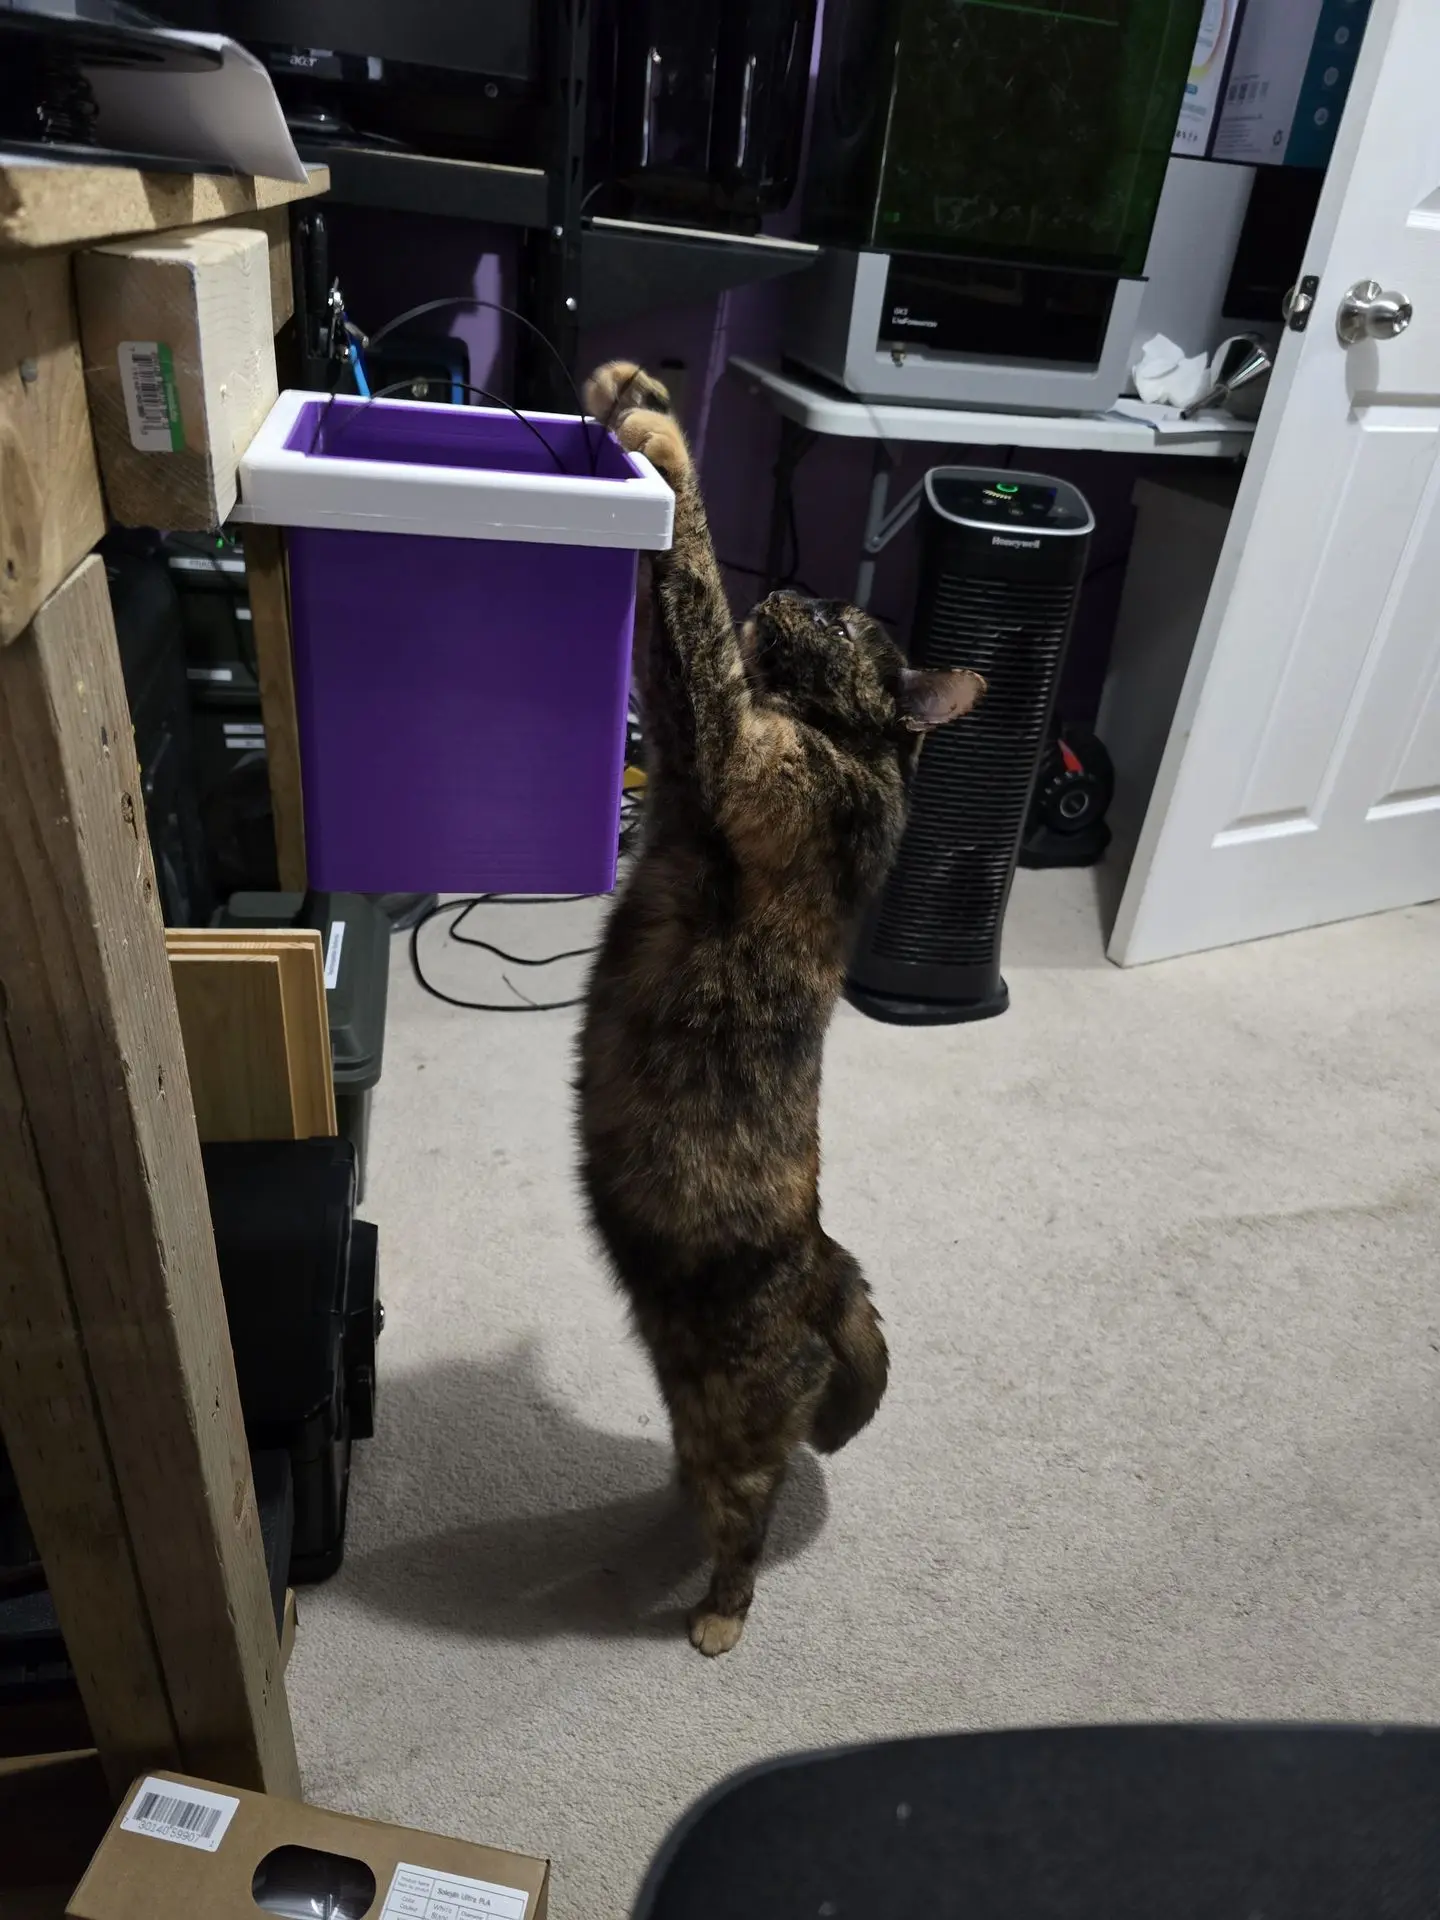
Pumpkin investigating the bin and providing the inspiration for a lid.
An early lid and a fit that needed work
This photo shows an early revision of the black lid placed on the purple bin and white rim. Although it illustrates the intended cover, it did not fit correctly. It belongs to the testing stage, before the clearance and corner geometry were refined.
Keeping this development photo in the story shows why a physical fit check matters. The revised, properly fitting lid is shown in the end-result section below.
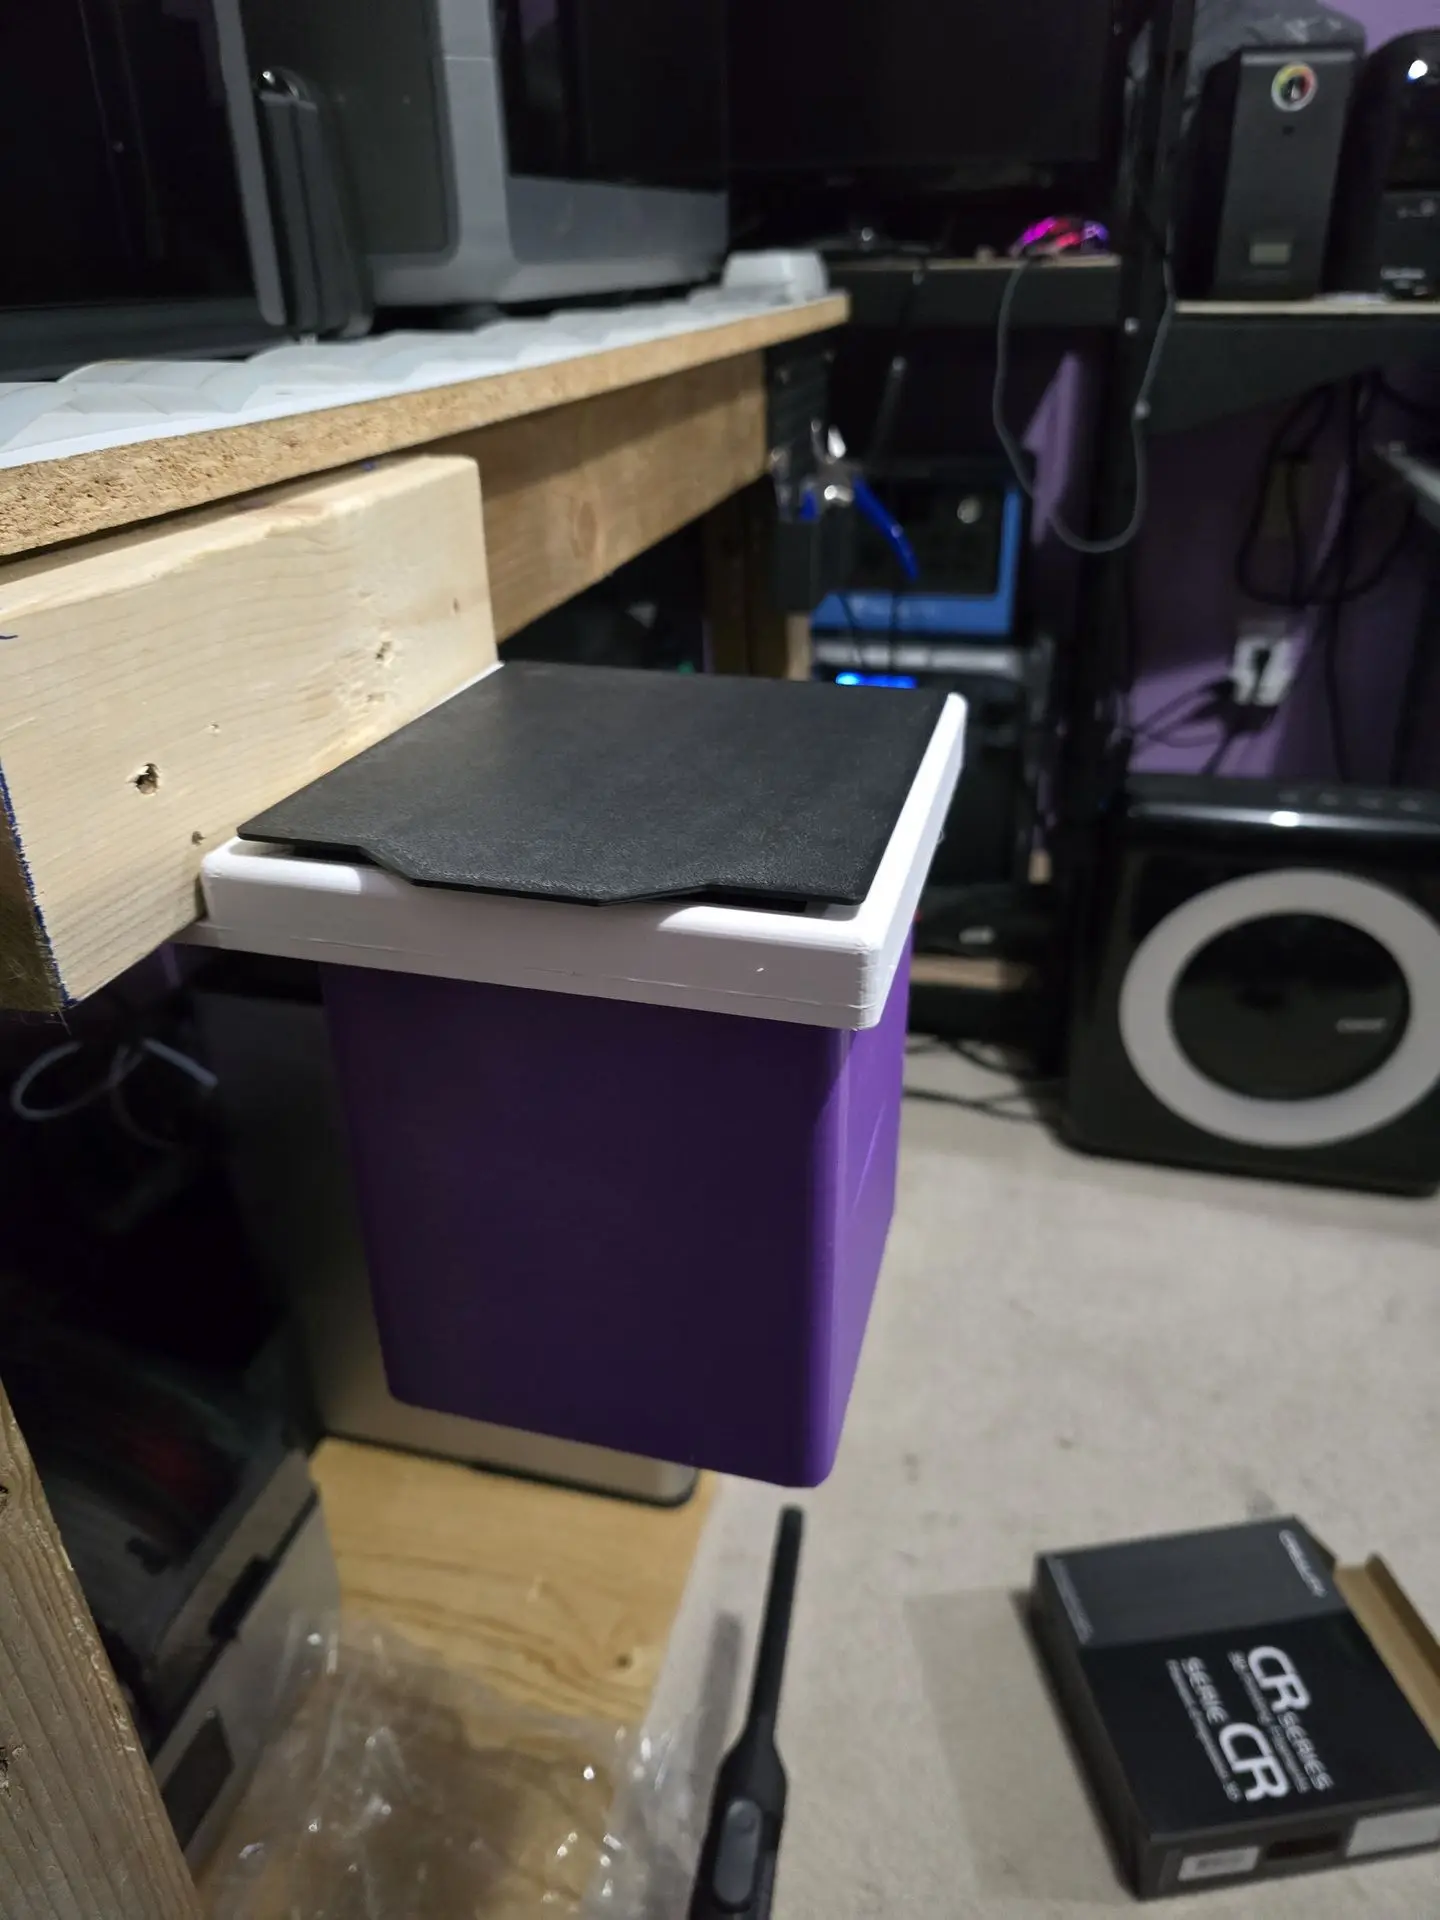
Early lid revision on the bin. The fit was incorrect and required further adjustment.
Designing around the existing geometry
The CAD view brings the lid and reference assembly together. We imported the existing STL files into FreeCAD and converted the mesh geometry into solid bodies so it could serve as a direct reference for the new part. That let us work around the opening and rim already present in the bin.
Getting the clearance right took several iterations. The initial 0.25 mm gap was too tight for easy removal. We increased it to 0.4 mm, then adjusted the design to 0.6 mm including the corners. The corner fit mattered as much as the straight edges: a lid can look correct in CAD and still need adjustment once printed.
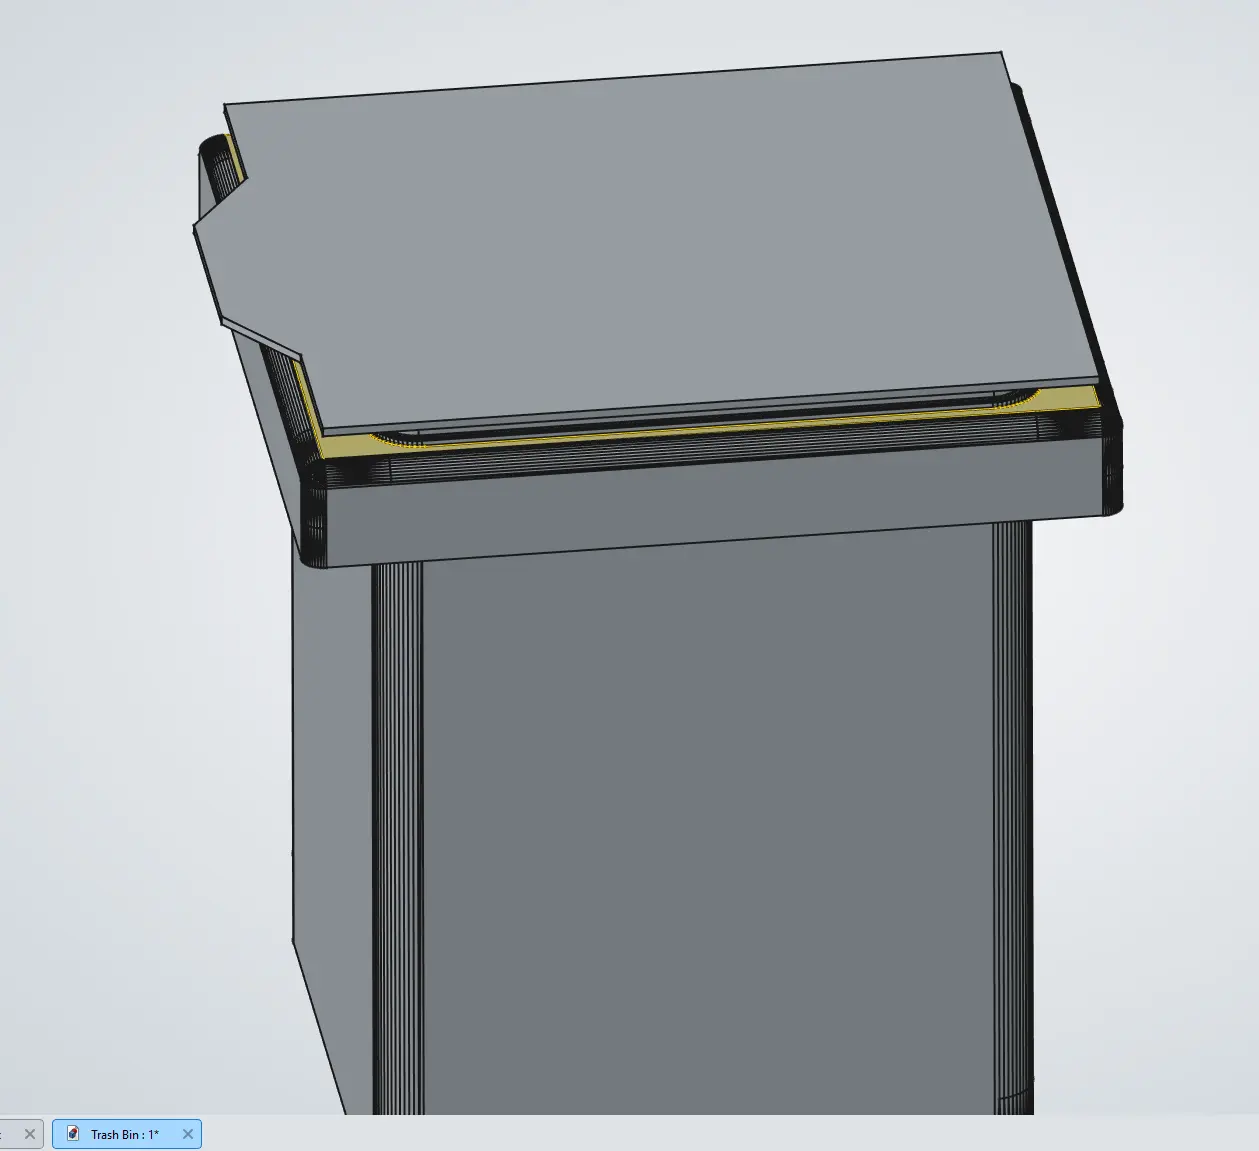
A development view in FreeCAD, showing the lid with the existing bin geometry.
Preparing the lid for printing
The sliced preview shows the step between modeling and making the part. The exported lid was brought into Bambu Studio and laid flat on the build plate for the Bambu Lab H2C. The preview makes the planned layers visible and shows the slicer's estimates for time and filament use.
We used black PLA for the lid. This screenshot documents a development print setup; the estimates shown belong to that version of the file. Slicing prepared the part for the printer, while the physical test would establish how it fitted the bin.
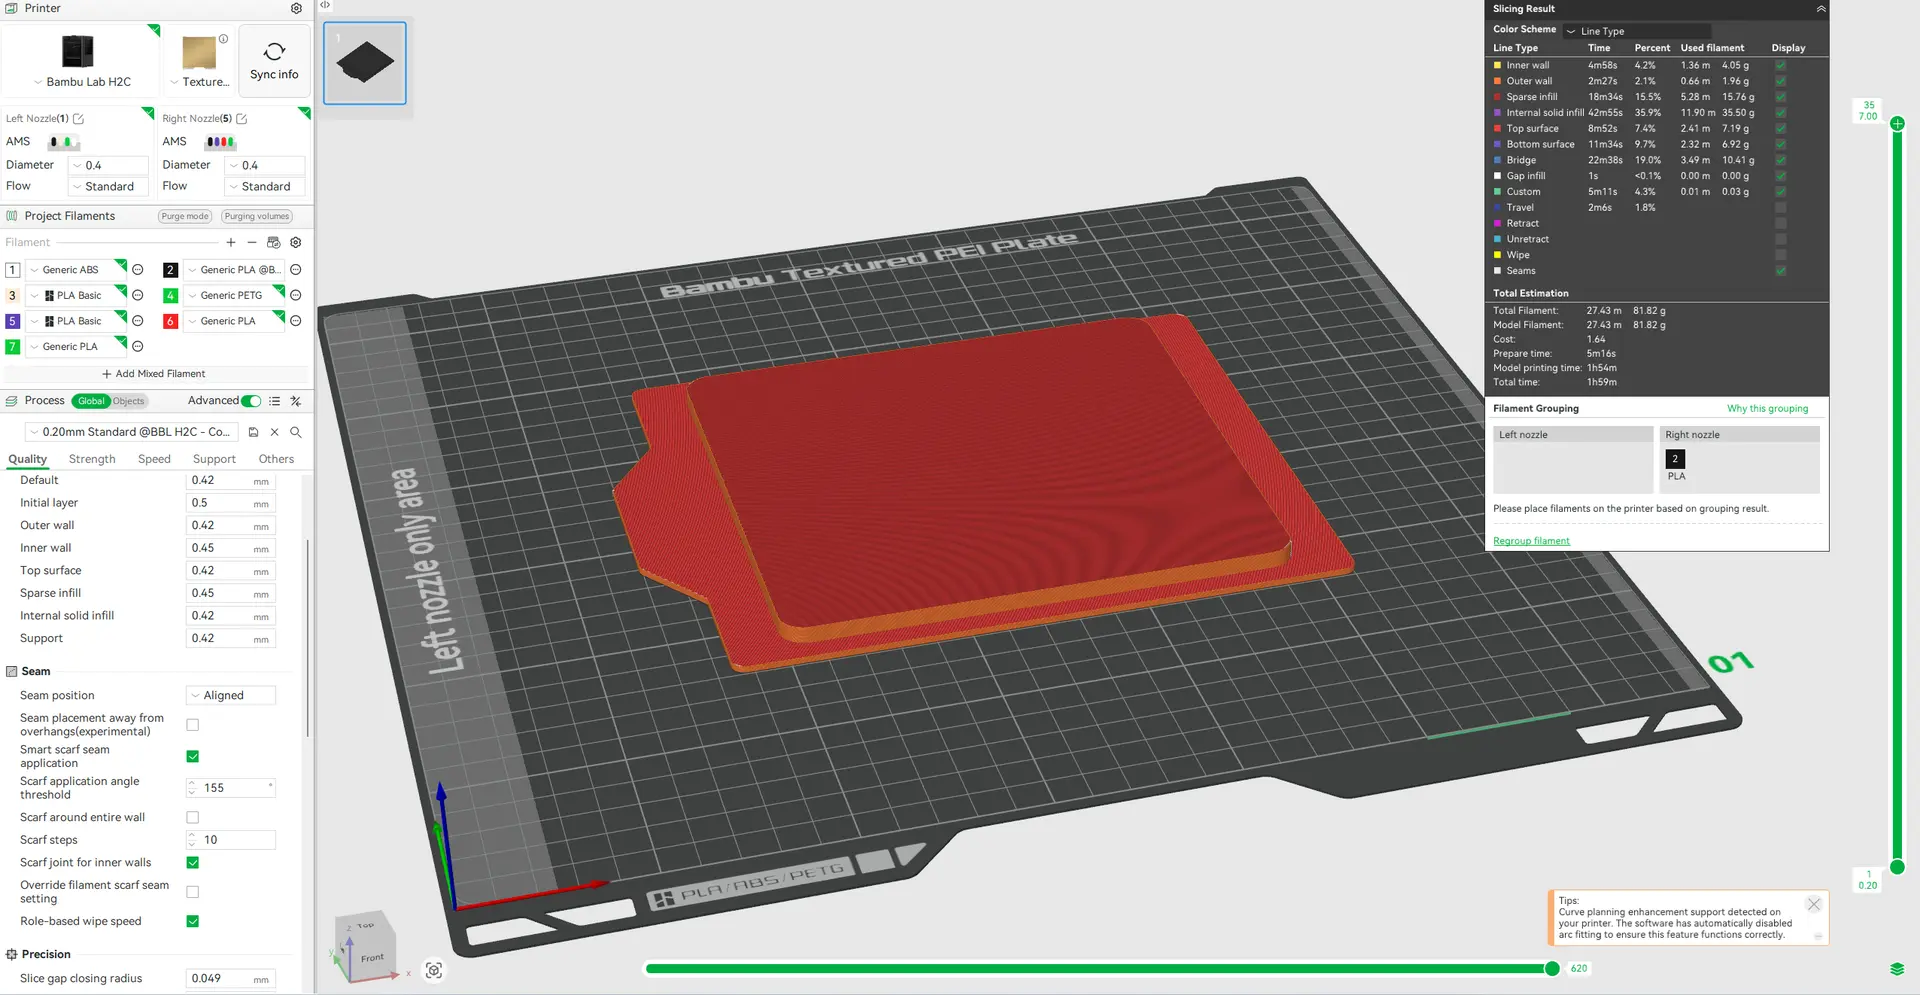
The lid's sliced preview in Bambu Studio before printing.
From the build plate to a fit check
The printer camera view shows the lid taking shape on the H2C build plate. It captures the early layers of a development print, connecting the CAD and slicing work to the physical part.
After printing, the lid was checked against the bin. Those checks drove the clearance changes and a correction to the corner radius. The project has a passing print/test result recorded on October 11, 2026. The useful lesson was in the iteration: a small custom part still benefits from modeling, printing, checking the fit, and making adjustments.
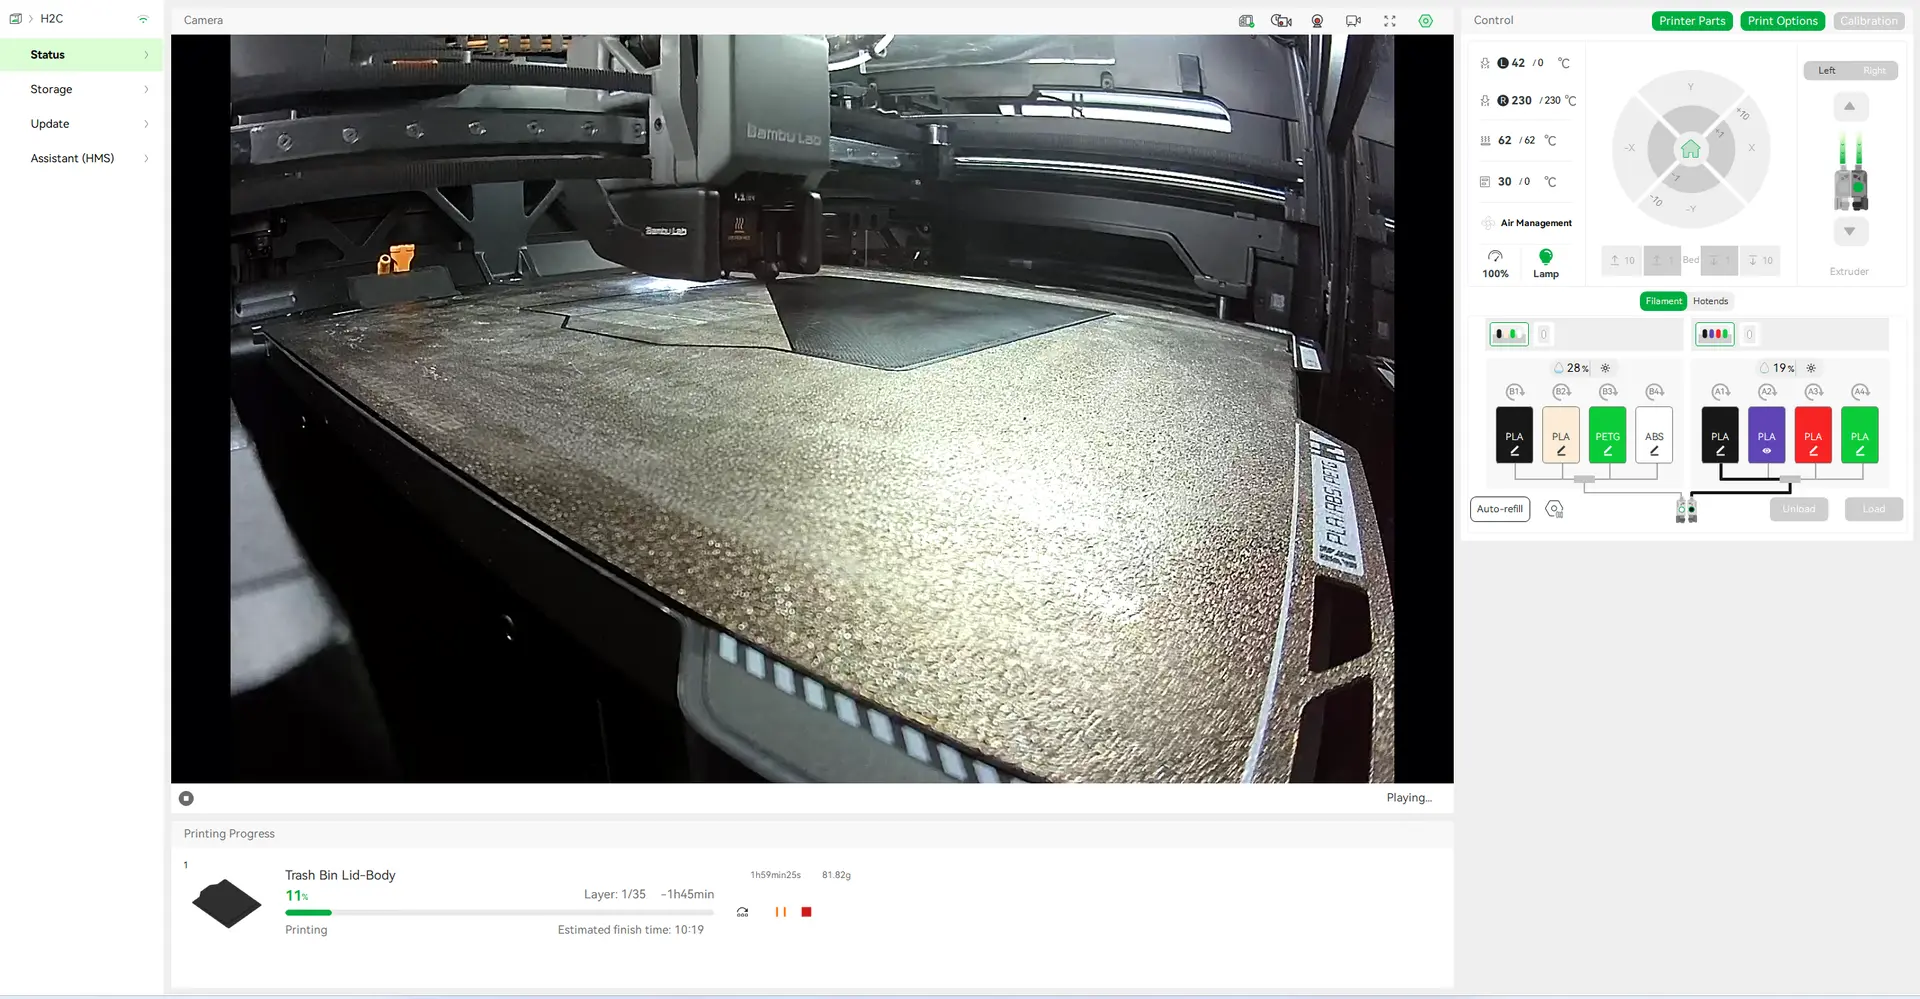
Printer camera view of the lid being printed on the Bambu Lab H2C.
The revised lid with the proper fit
The finished photo shows the revised black lid sitting correctly on the existing bin. The clearance and corner adjustments resolved the fit issue seen in the earlier version, bringing the design to its intended result while retaining the removable-lid design.
This is the end result of the CAD, printing and fit-check process: a custom cover for the bin already in use beneath the workbench. Comparing it with the early revision makes the purpose of those small geometry changes clear.
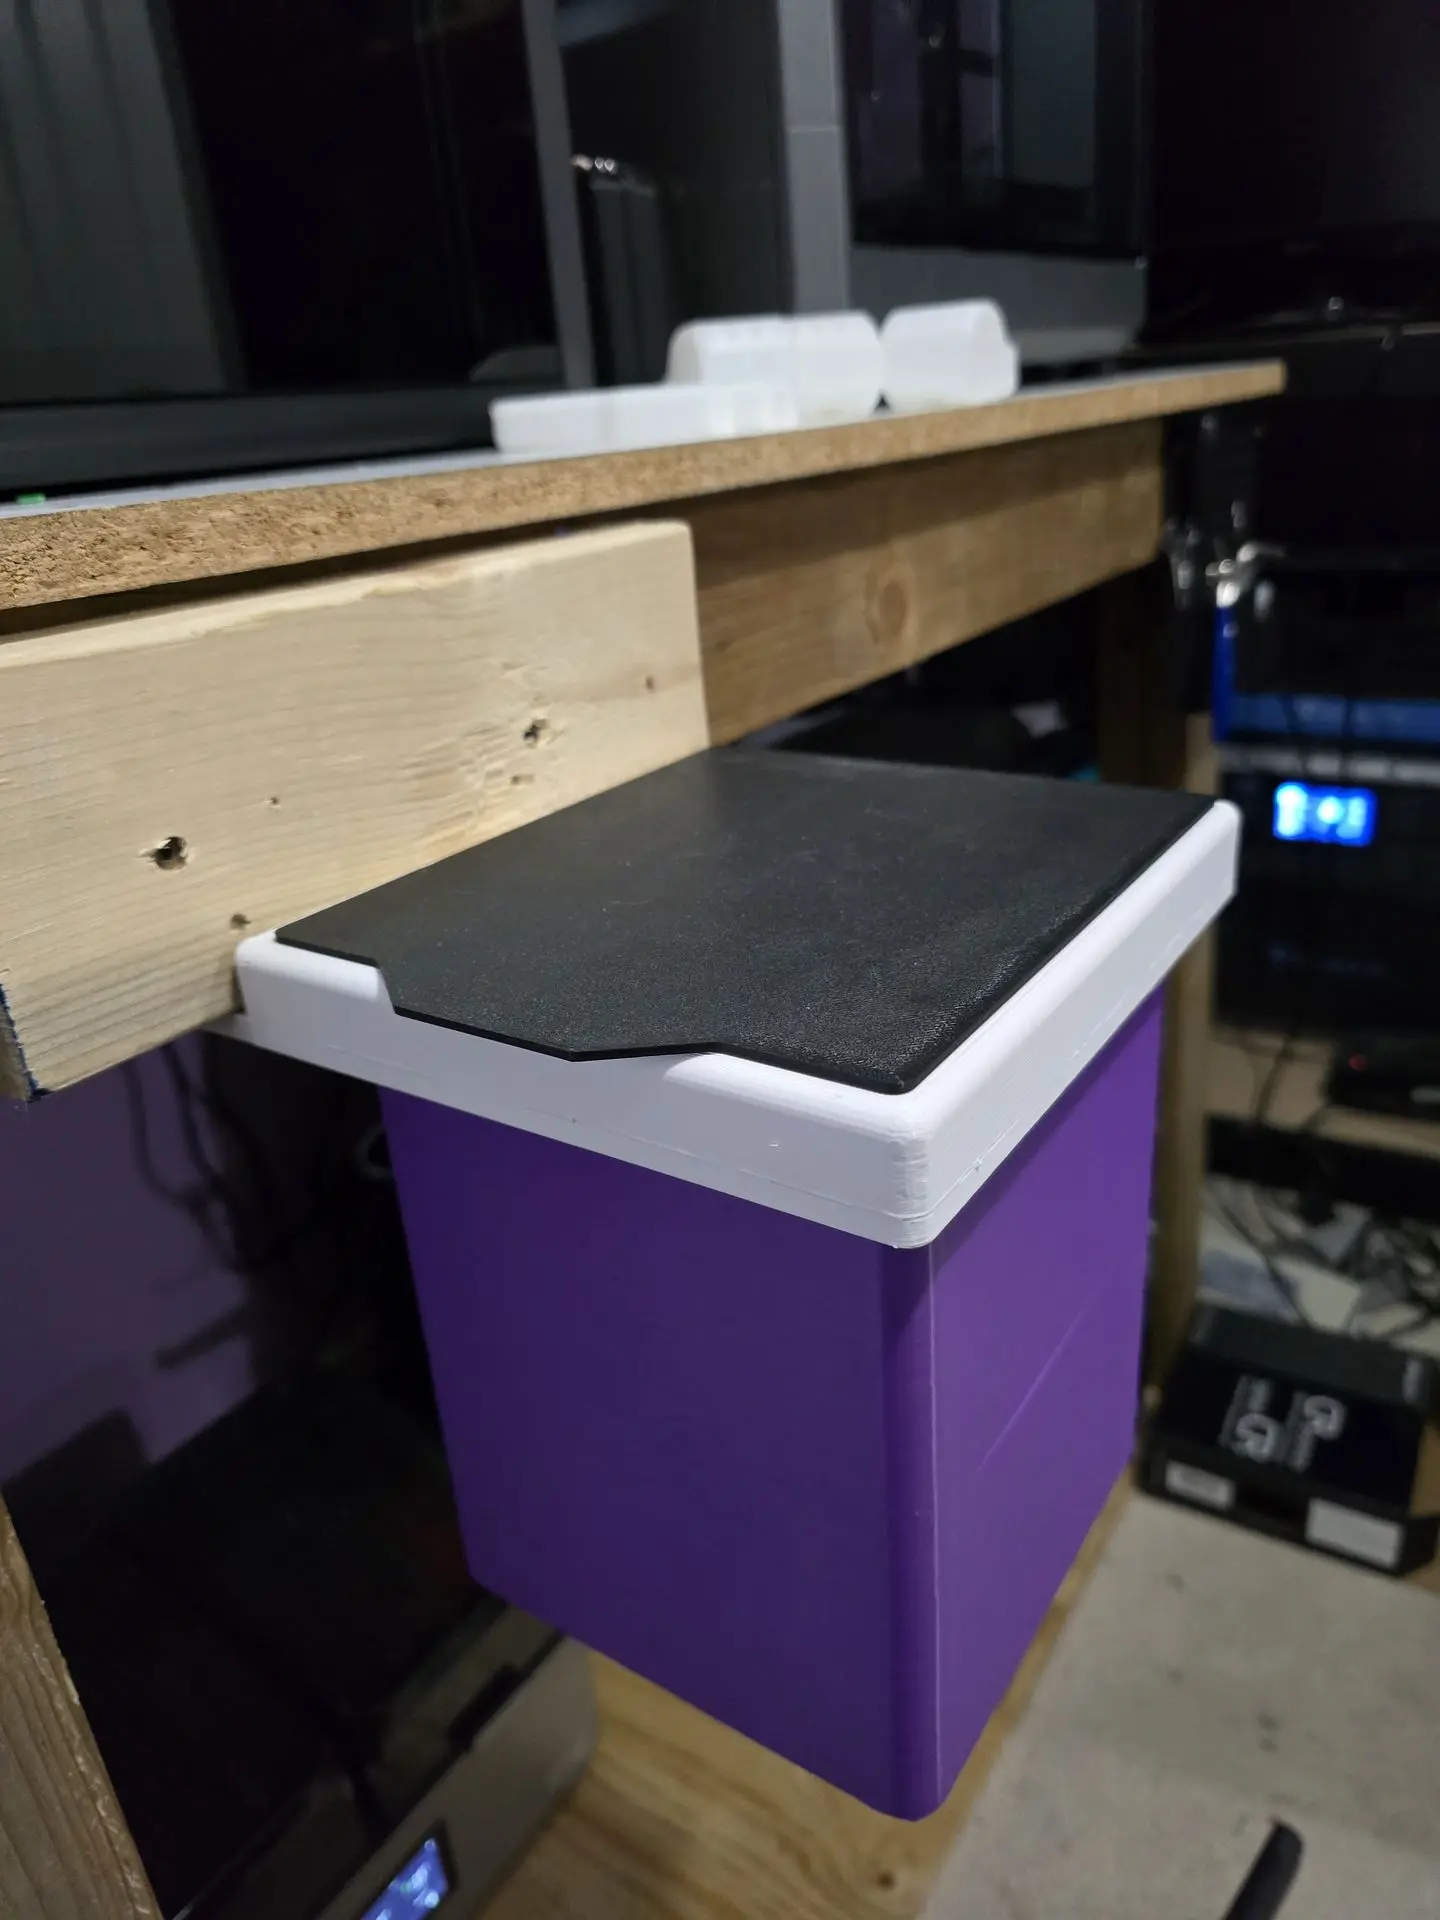
The revised lid with the proper fitment on the existing bin.
A small addition with a clear purpose
This project adapts an existing design to the way our workshop is used. The bin stayed in service, the custom lid added a cover, and Pumpkin supplied a memorable reason to make it. It is a simple example of using CAD and 3D printing to solve a specific everyday problem.
Have an accessory or part that could work better with a custom addition? Tell us about your project.